OUR MISSION
Think beyond what has been done before, work with the most demanding photographers on the planet, deliver beyond expectations and never rest on past accomplishments.The results can be seen in everything product we build - from the smallest accessory to the most elaborate cinema housing.
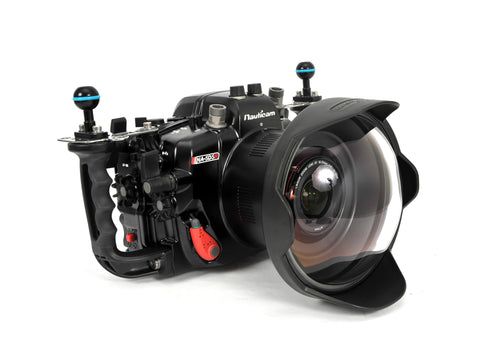
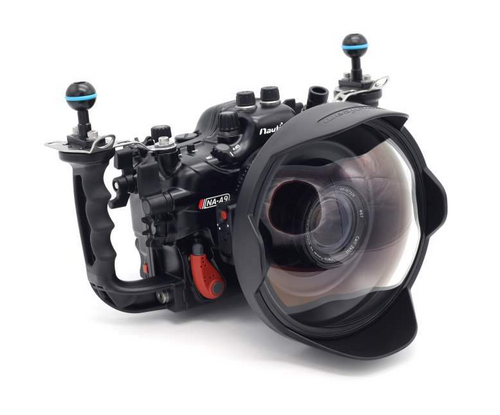
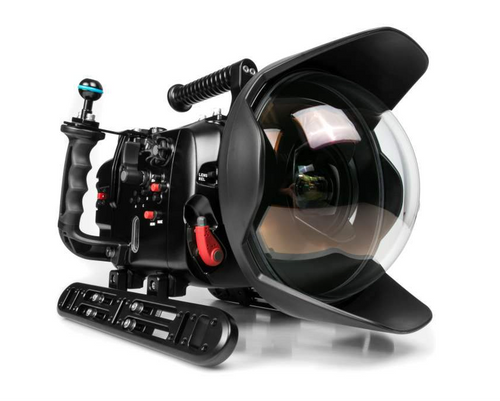
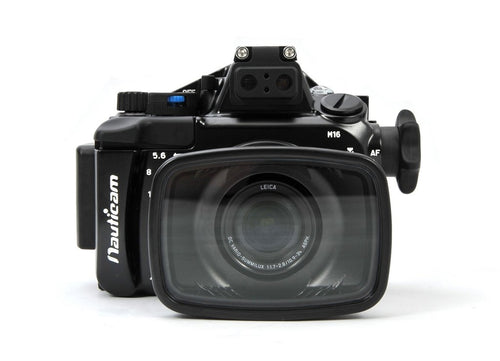
Housings by brand